
I love any decorations that involve cookies or give me an excuse to bake. I’ve been dreaming of making a cookie wreath and was so happy to create such a fun project.
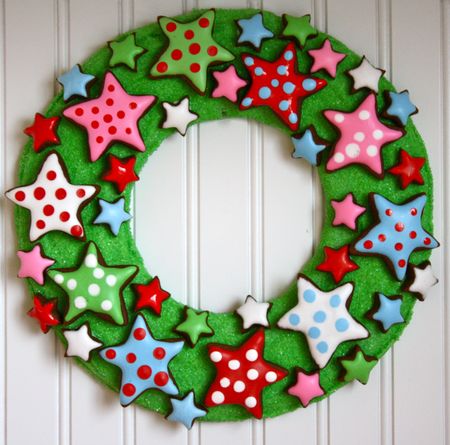
I decided to make the wreath and cookies out of gingerbread cookie dough so that it would smell especially Christmasey. I used this recipe (minus the black pepper) for the dough. And this recipe for the icing. Here’s how I made my wreath:
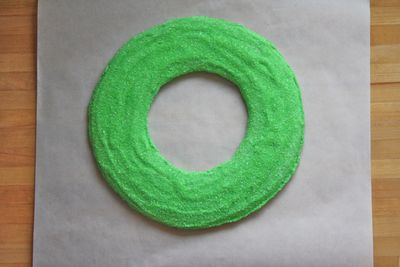
I cut out the shape of a wreath using a mixing bowl for the outer circle and a cereal bowl for the inner circle, using the rims as an easy guide for my knife. I baked the wreath (as indicated in the recipe) until it was really hard, but not burned. After it was completely cooled, I covered the wreath in green icing, and sprinkled it with Wilton light green sugar sprinkles. At this point, the wreath needs to sit for several hours until the icing is completely hardened.
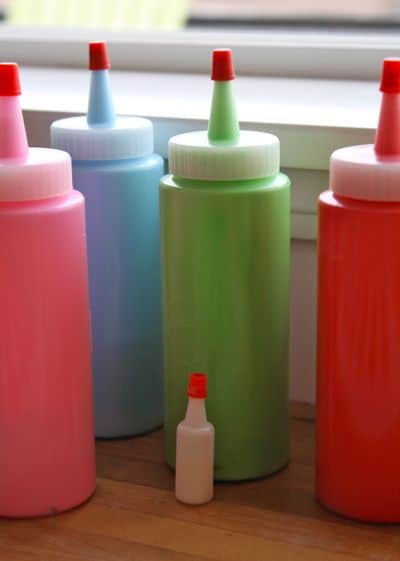
In the meantime, I baked my cookies (I chose two different sizes of stars) and prepared the icing. I added a few Tablespoons of cold water to the icing to make it almost drizzley (just not runny to where it can’t keep it’s shape. See images of icing below). I divided the icing and colored each batch the colors I’d be using for this project. I spooned the different icing colors into Wilton squeeze bottles, and a tiny squeeze bottle I found at Daiso. (The tiny squeeze bottle wasn’t necessary, but I love teeny things, so why not?)
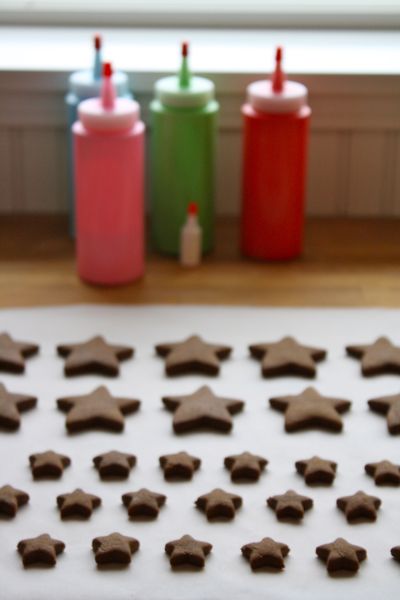
To ice the cookies, I used a technique called “flooding” where you outline the area and then “flood” it with the icing. It’s such a fun technique that makes cookies look really impressive.
Step 1) Outline cookie:

Step 2) Flood the cookie, using the same icing. You can use the tip of the squeeze bottle to help spread it around if necessary:



Now, you can leave stars as is -or-
Step 3) Add dots by squeezing contrasting dots of icing onto the icing already on the cookie. (The icing dots will sink in together and all be flush after a few minutes):



Step 4) Allow cookies to dry completely (This will take several hours, but time really depends on how much icing is used).
Step 5) Attach cookies to wreath using the icing as glue. Let sit for 24 hours or until really hard.
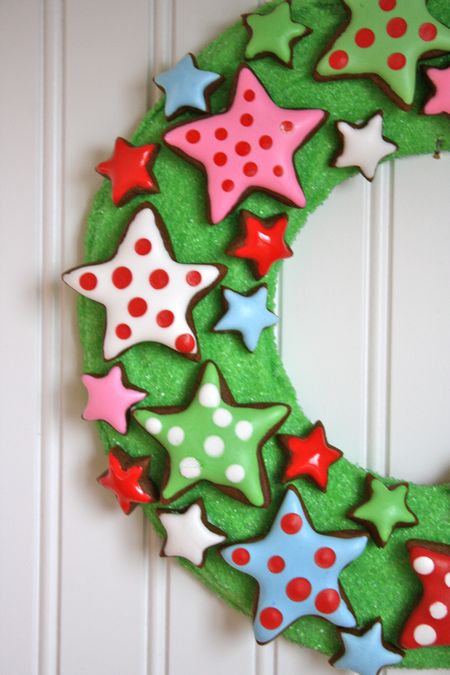
I hung my wreath directly onto a nail, however, this will only work if the wreath is really dry and hard. The wreath can also be hung by attaching a colorful ribbon and hanging it from the ribbon, or simply display it on a shelf, ledge, or window sill. Better yet, if you’re looking for a cheery holiday centerpiece, this is just the ticket!

IT'S ME, SERENA!
I bounced through the first years of my life in a hippie gypsy wagon, hand-built by my father, wandering the back roads of the U.S., Canada and Mexico. My family eventually settled into a tiny cabin in the woods on property that was once inhabited by Native American Indians.
I spent my childhood days searching for arrowheads, teaching myself to sew on a treadle sewing machine and to bake in a wood-burning stove, with no running water, refrigeration, or electricity in our home. My family lived frugally and early on, inspired by my parent’s thriftiness and style, I gained a knack for thrifty creativity and turning ordinary objects into something useful. And I dreamed of the home I would create for my own family someday.
Now I’m married to my husband, Colin, and our children are all grown. After 24 years of producing The Farm Chicks Vintage & Handmade Fair, I'm spending time visiting other markets around the world. You can watch episodes of Serena Goes to Market here.
I share more about my life story from time to time, here on my blog. You can also find me on Instagram, and Facebook.
MORE POSTS LIKE THIS

Natural Holiday Tablescape
Tablescapes add such a nice, warming touch to your home during the holidays. This year I decided to go with simple natural elements (greenery, fruit, and nuts) that are really pretty when gathered together. Best of all, it was really simple and inexpensive to create.I...

Festive Kitchen Christmas Tree
Decorating the kitchen with a small Christmas tree adds an extra bit of holiday cheer to your home. To continue my gingerbread theme this year, I made mini gingerbread houses and tiny stars for the ornaments and strung fresh cranberries as a garland. To finish it all...

How to Make a Fuller Garland
I love the tradition of placing a garland around the front door and I've discovered that I can make it much fuller by adding more elements to the garland once it's hung. I'll show you how! The first step is hanging the garland. I don't want to place any nail holes on...