
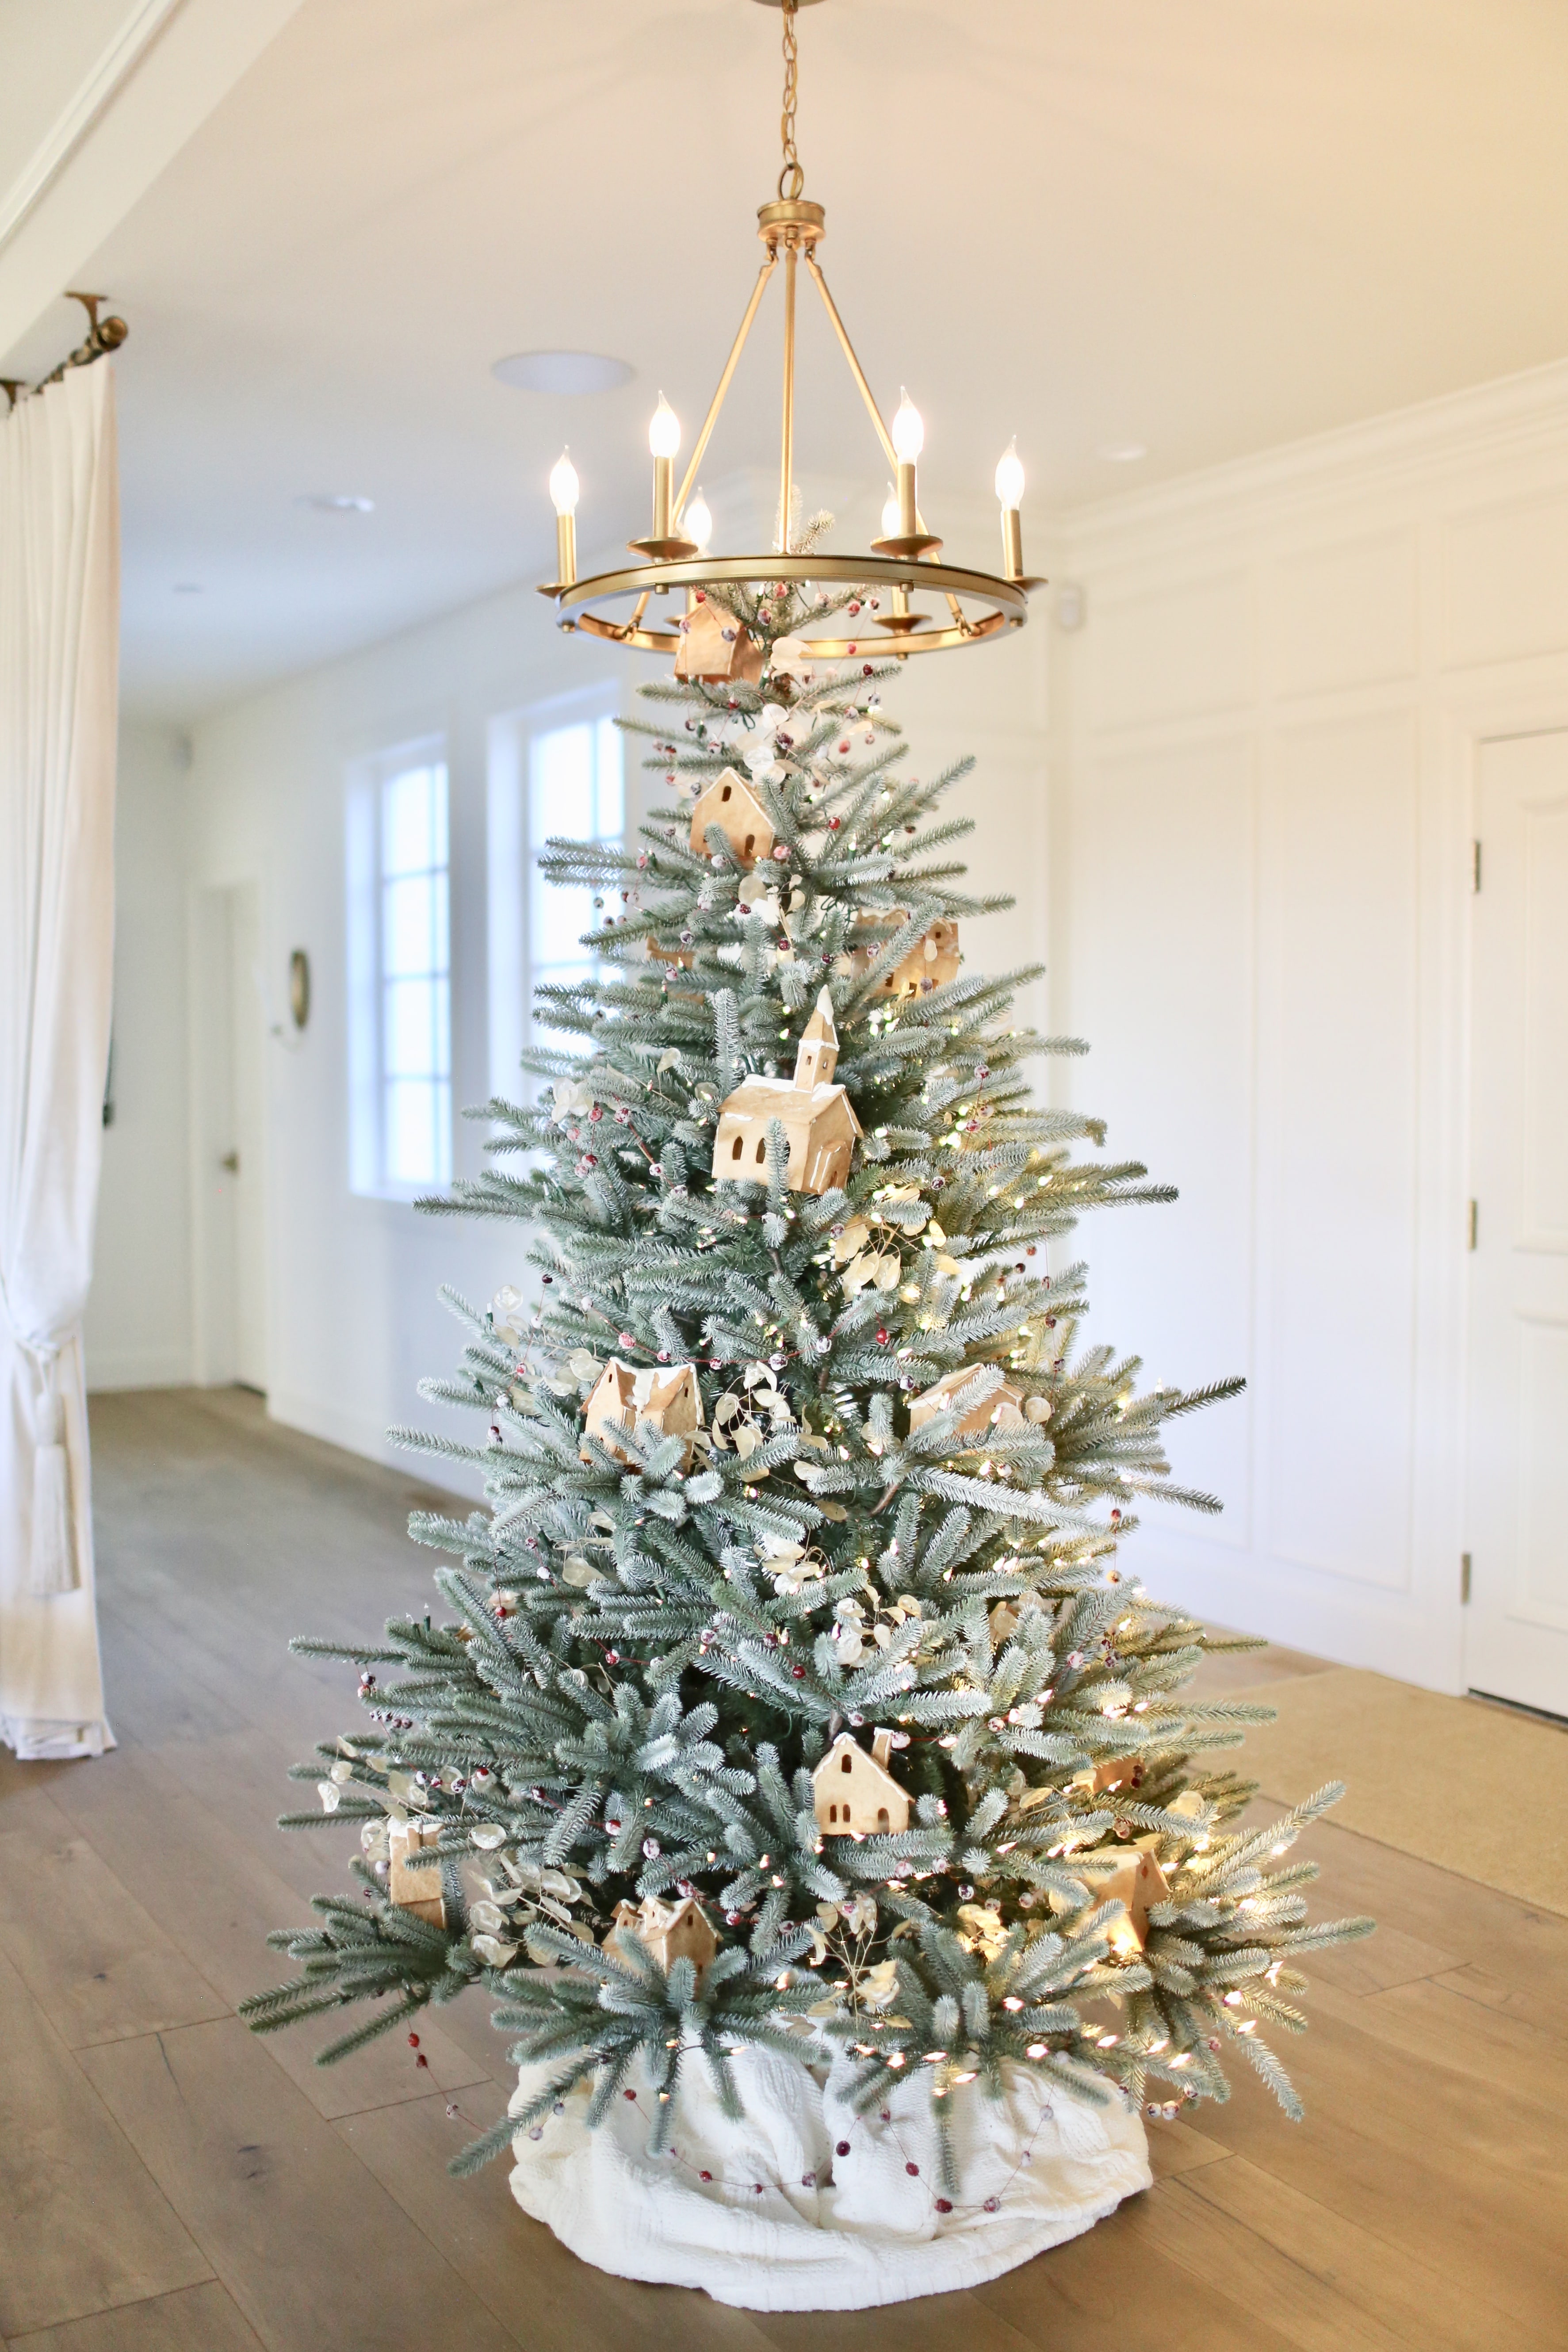
My love for gingerbread houses continues to grow and this year, I decided to go all out and deck our tree as if it were a mountain village of gingerbread homes.
Not only was this project such a cheery boost for my spirit, it brought back nice memories of childhood Christmas crafting with the most simple objects and ingredients. I tend to be at my creative best when I have little to work with.

I started out with making the gingerbread. I love this recipe adapted from Serious Eats:
Construction Gingerbread House Recipe:
- 1/4 cup brown sugar
- 2 teaspoons ground cinnamon
- 1 1/4 teaspoons ground ginger
- 1/4 teaspoons ground cloves
- 1/3 cup plus 1 tablespoon corn syrup
- 3 tablespoons butter at room temperature
- 1 1/2 teaspoons vanilla extract
- 1 1/3 cups all-purpose flour, plus more for dusting
- NOTE: Do not substitute ingredients. Doing so can cause bubbles, create a weak dough, etc.
Directions:
-
Line a sheet pan with parchment paper. Preheat oven to 350°F. Combine brown sugar, cinnamon, ginger, cloves, corn syrup, butter, and vanilla in the bowl of a stand mixer fitted with a paddle attachment. Mix on low until smooth, then sprinkle in flour and continue mixing to form a stiff dough. Turn onto a lightly floured surface and knead until smooth. Proceed immediately, or wrap in plastic and set aside at room temperature until needed, up to 24 hours. (Larger batches should be divided into 14-ounce portions.)
-
Place dough on parchment paper that has been sprinkled with flour. Sprinkle more flour onto the top of the dough and roll out to your desired thickness. (I roll my dough very thinly so that it goes a long way and so that each gingerbread house is as light as possible). Cut according to your gingerbread house template (see note below about templates), using an X-Acto or paring knife. Transfer shapes to the sheet pan.
-
Bake gingerbread until dry to the touch and golden brown. This can vary anywhere from 7-25 minutes, depending on size and thickness of your shapes. Transfer cut-outs to a cooling rack and cool completely before handling.
- Assemble houses with melted white candy melts, using a disposable piping bag.
- Allow to fully dry and set.
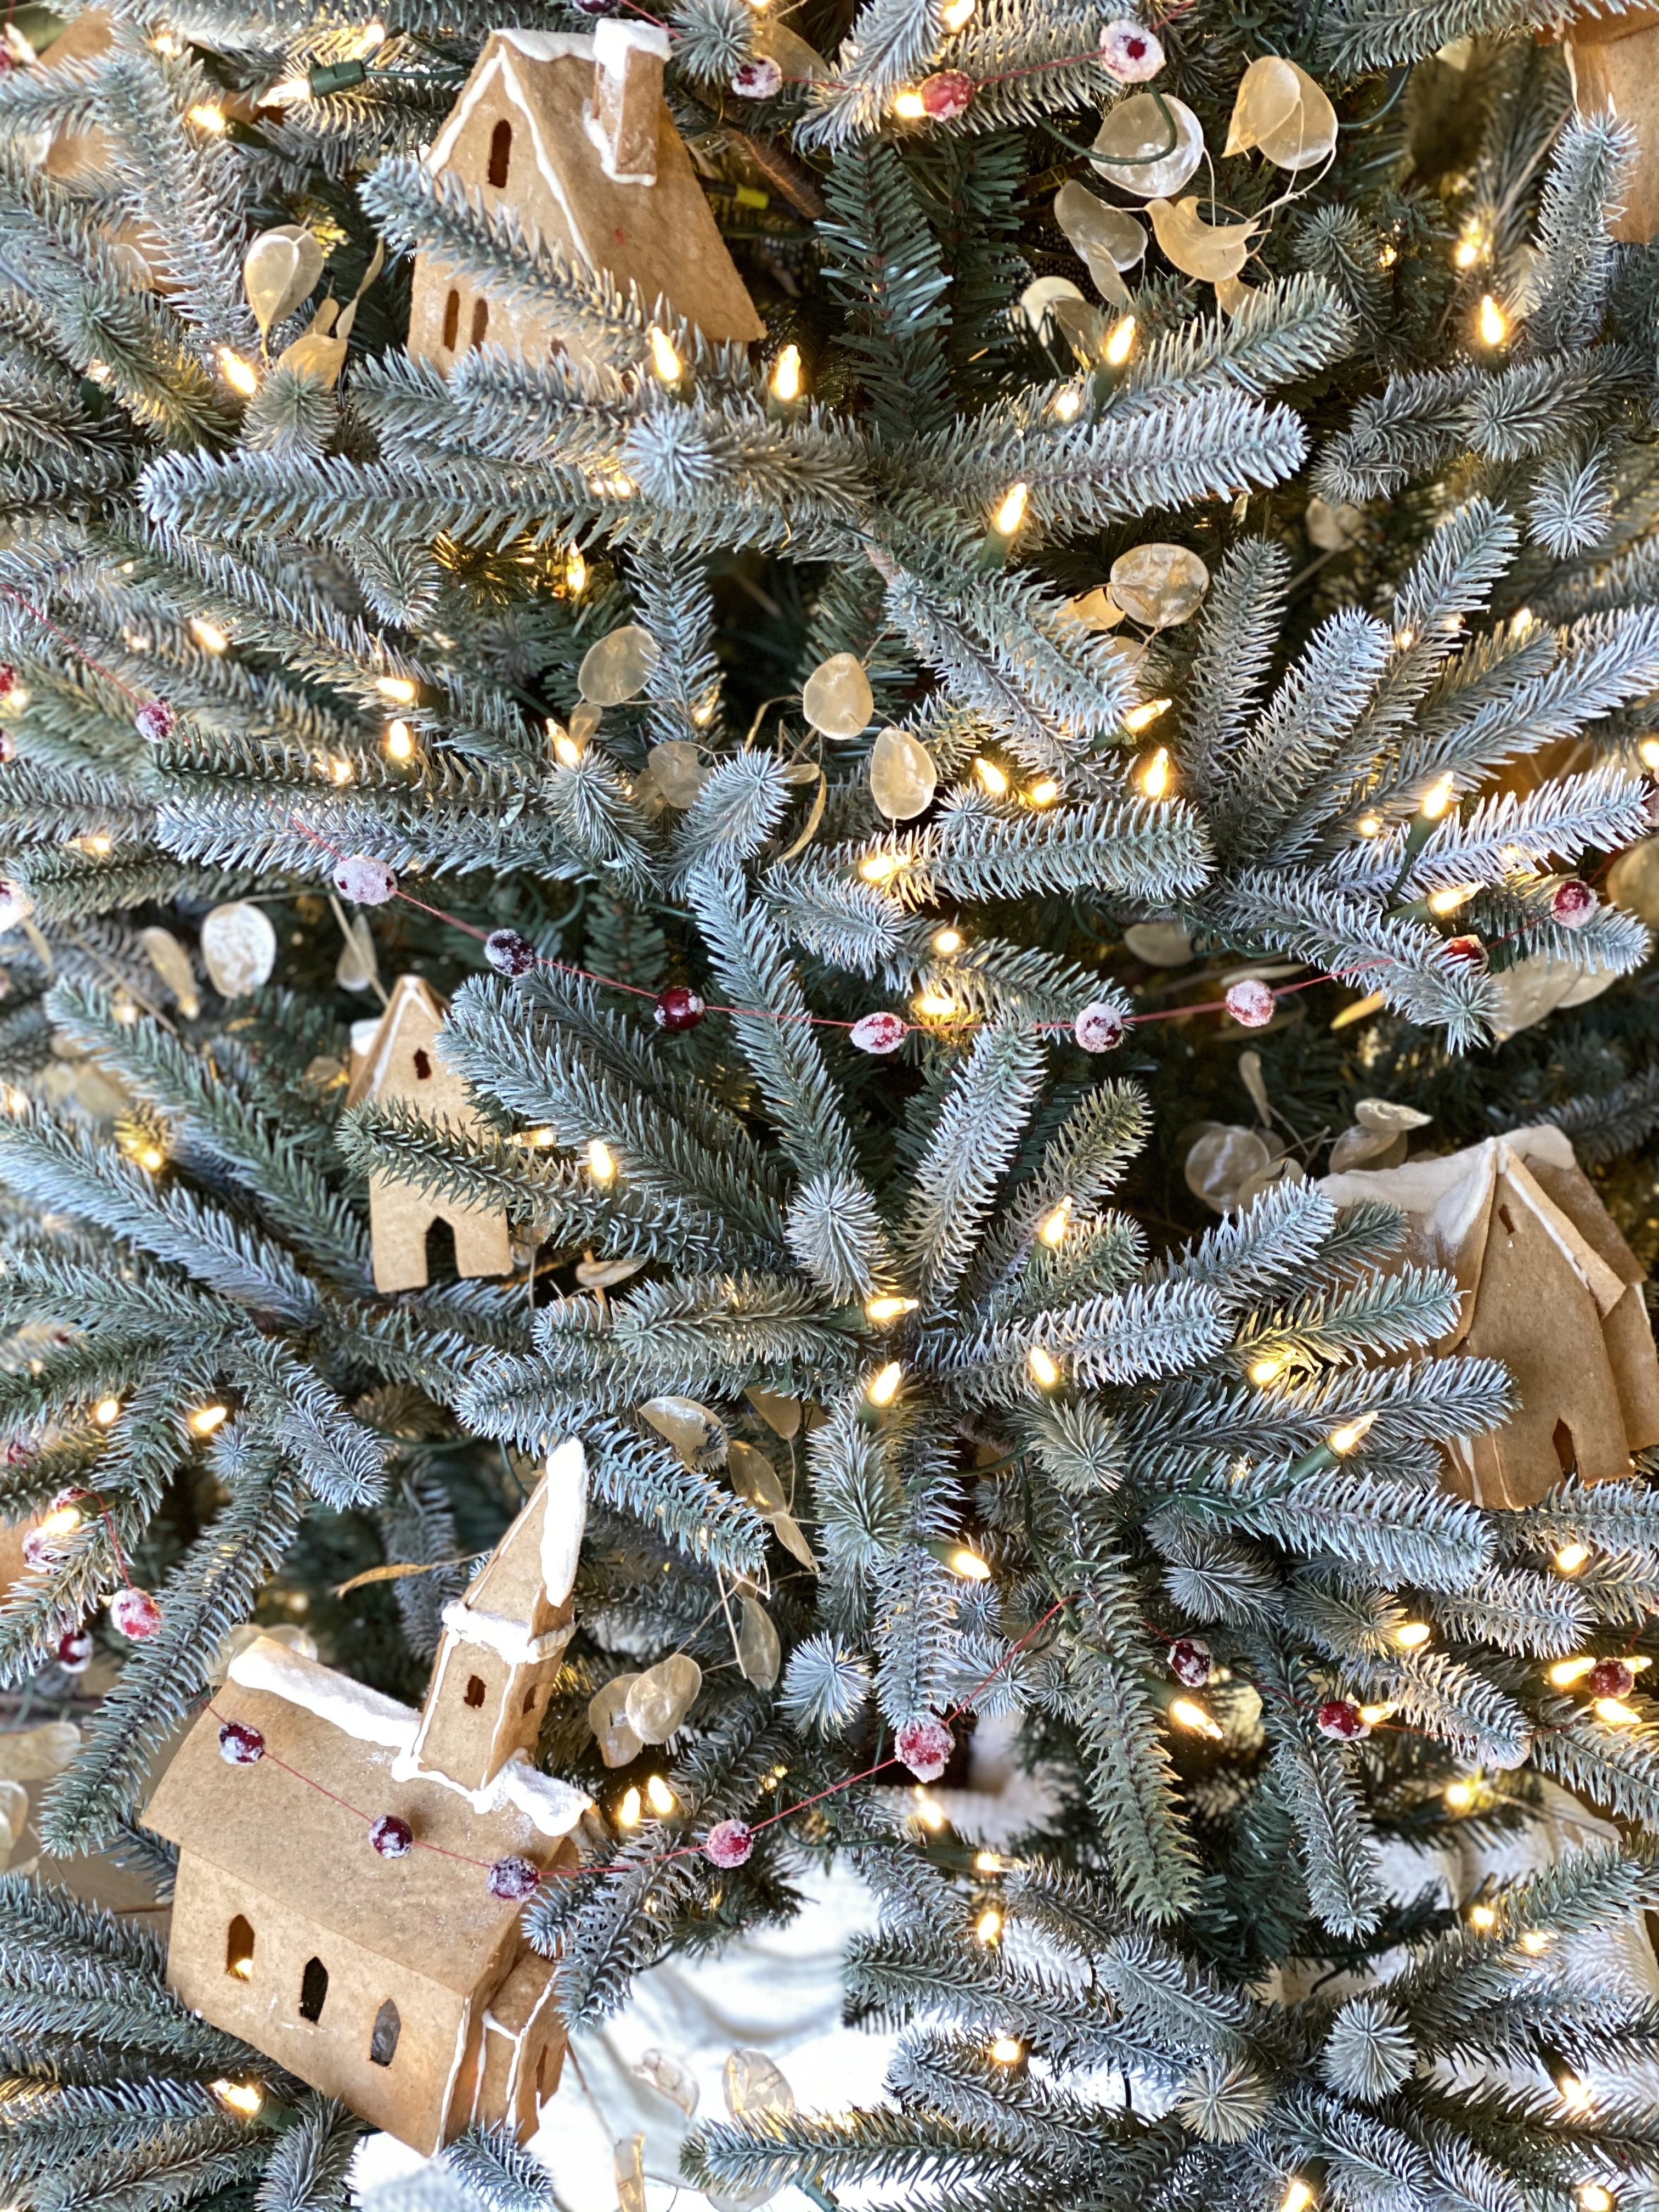
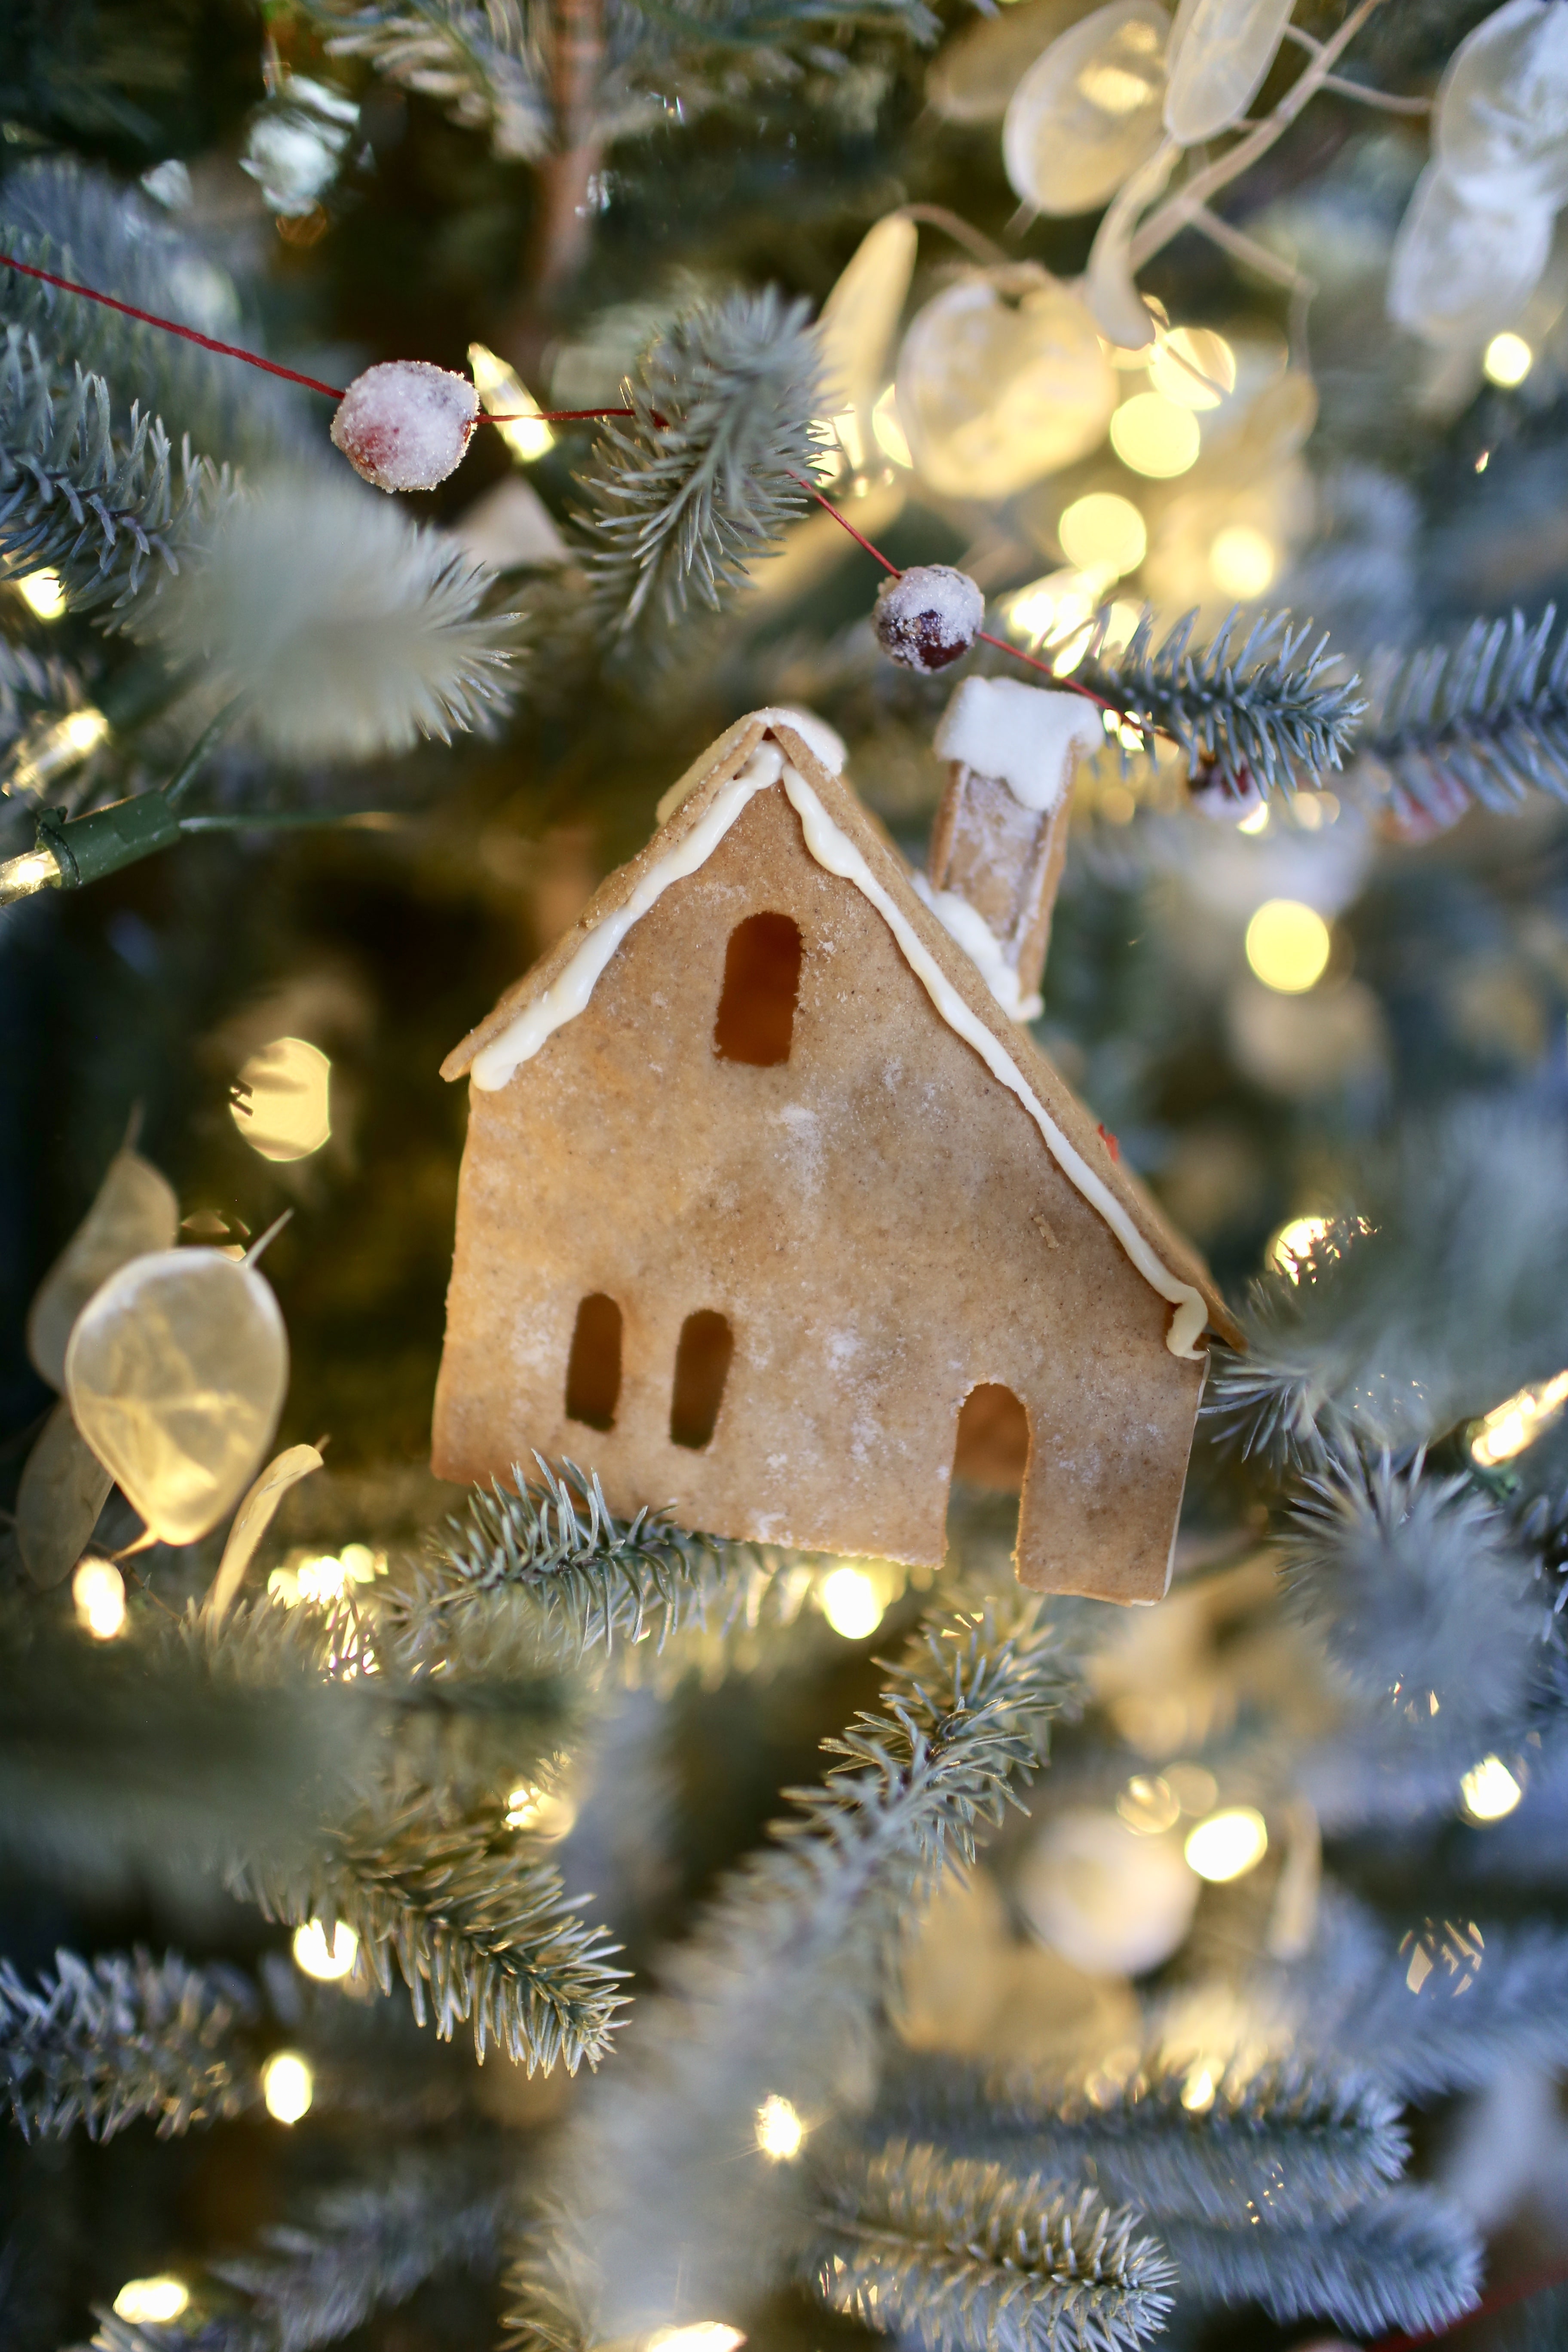
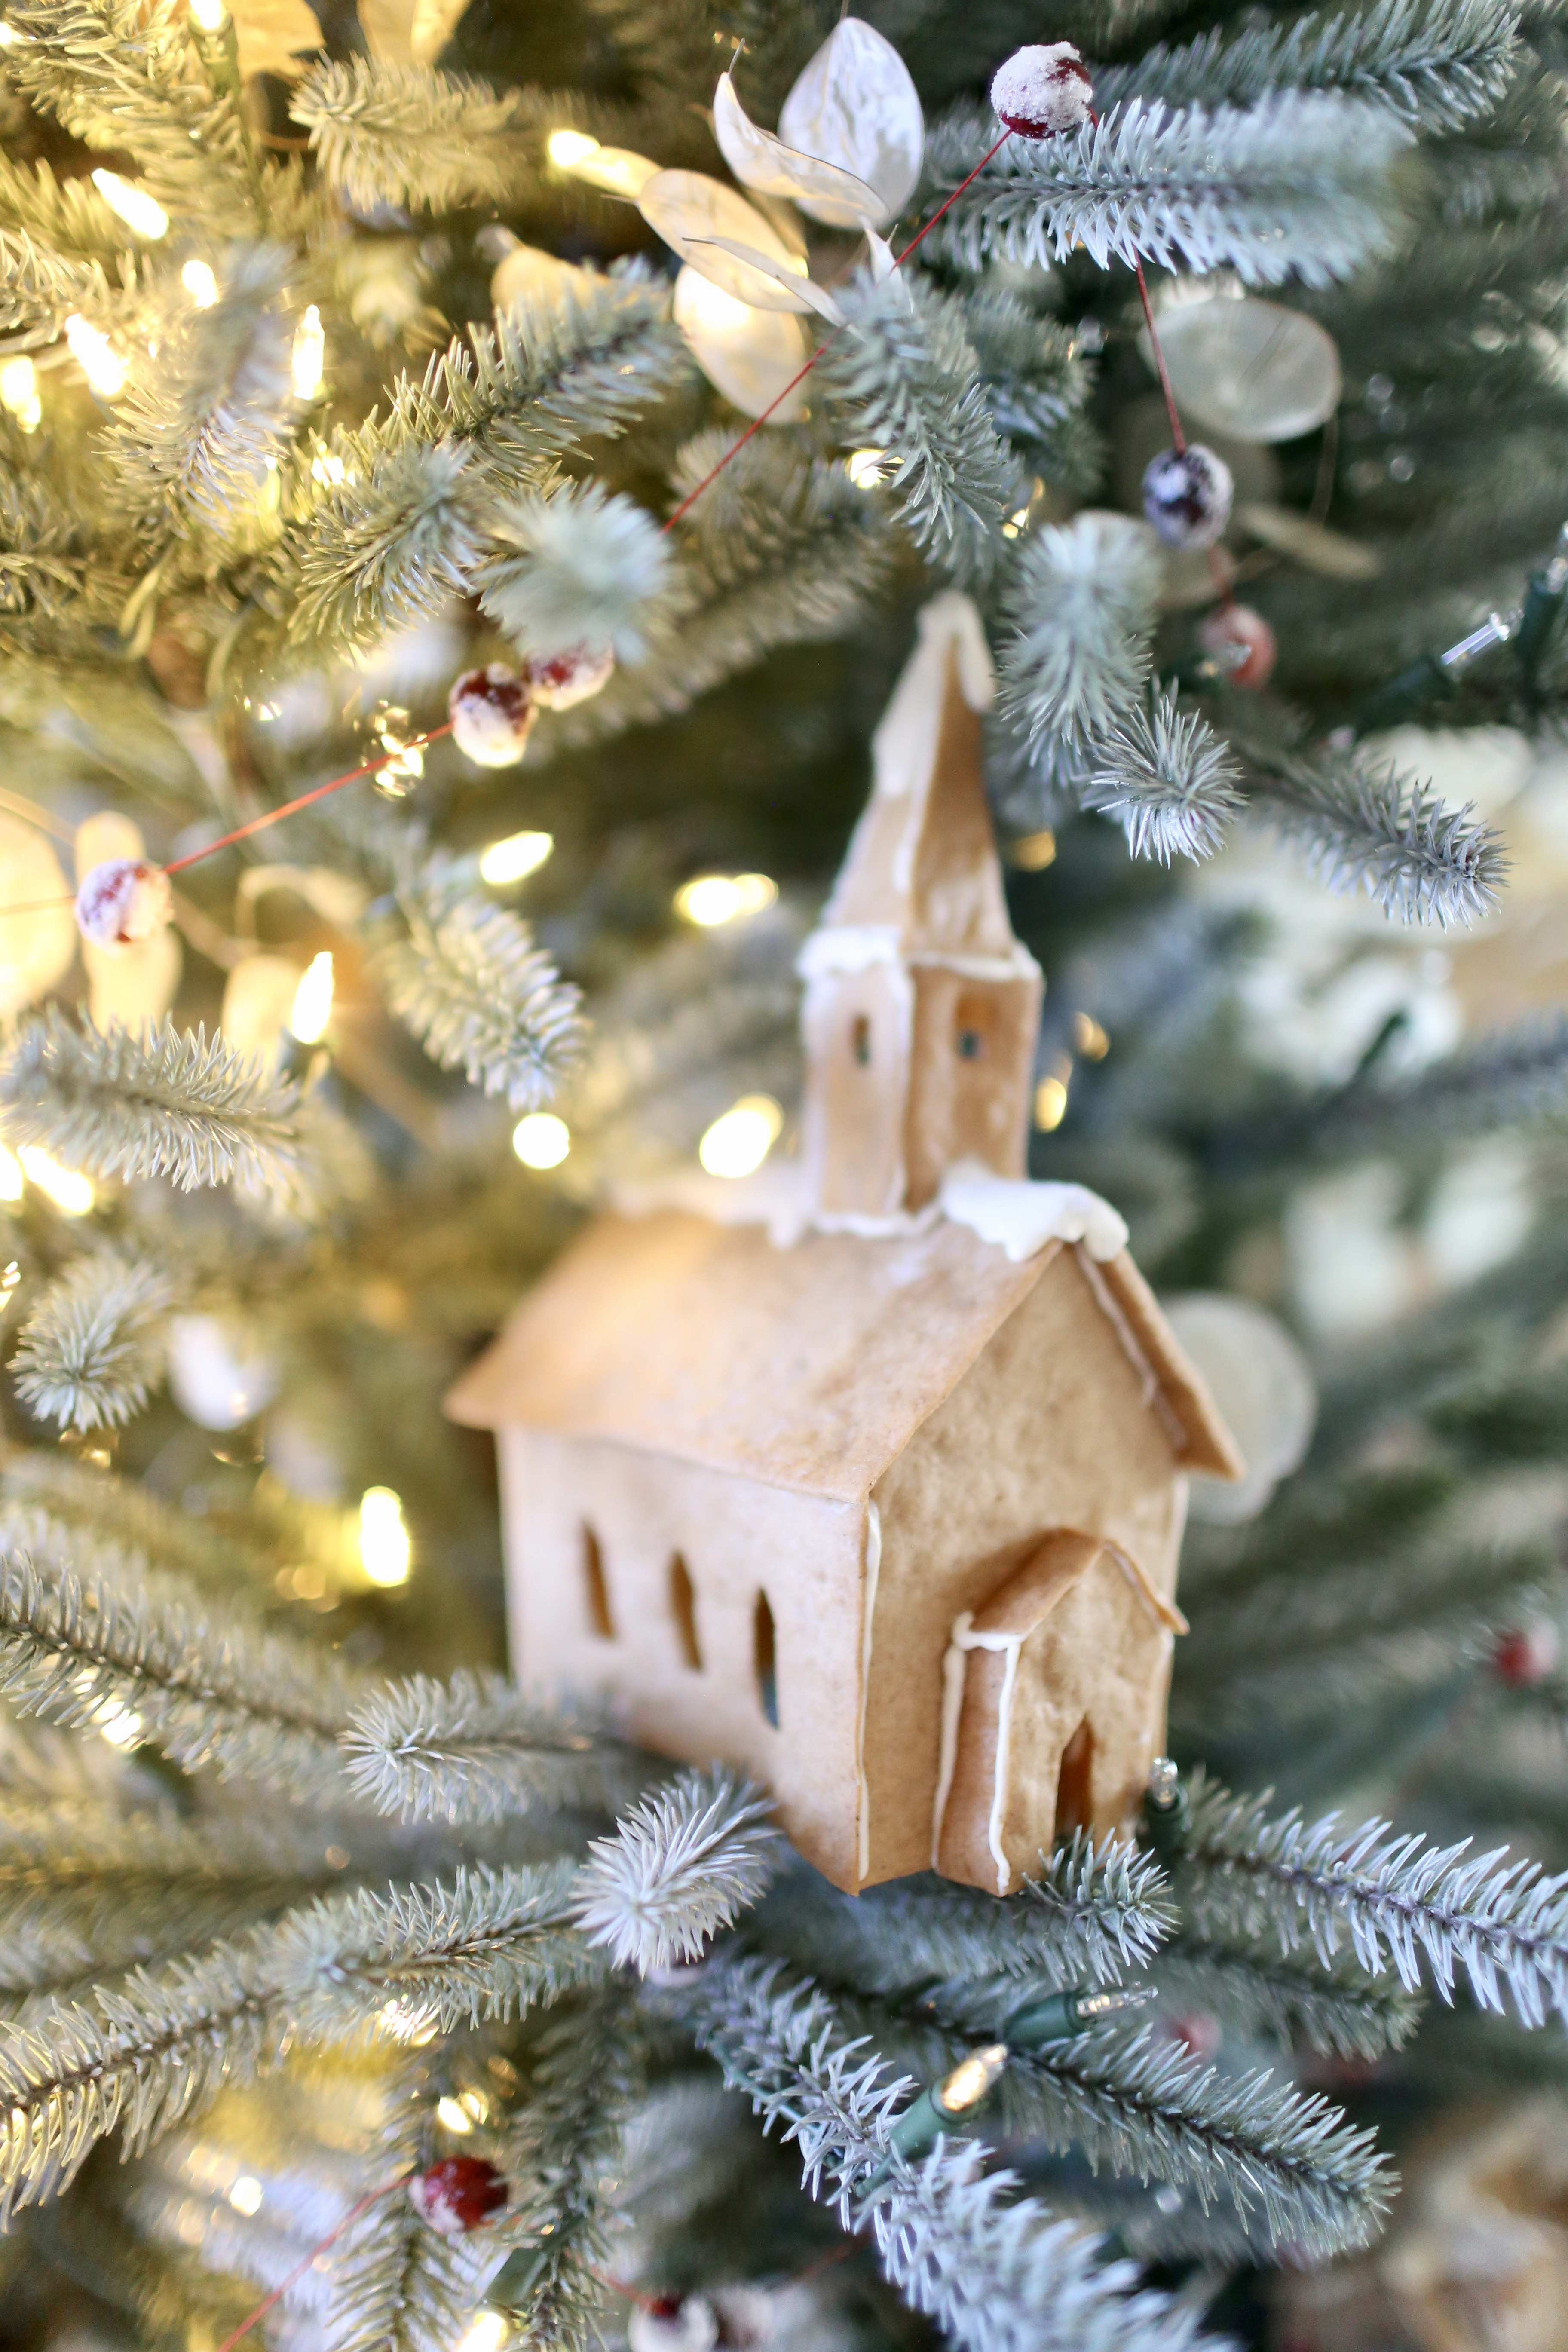
Carefully tuck houses into the tree, making sure they’re stable and won’t fall.
Notes:
This was an extremely time consuming project that took me about three full days to complete. Of course, I realize this may not be interesting or doable for some, but I do hope it may inspire your own craft or project that’s meaningful to you.
I use an old set of paper holiday houses that I’ve cut up as my templates. You can find similar options here, here, and here. A google search will turn up more options as well.
You can substitute cardboard for the gingerbread if you have pets or small children you’re worried about eating the houses.
I kept the tree simple by adding only Lunaria clippings that I gathered from our property in the fall and a sugared cranberry garland. You can find my recipe for sugared cranberries here.
You can find more of my holiday gingerbread projects here and here. And one of my biggest gingerbread inspirations here.
I hope you are doing well and staying healthy this holiday season. I’ll be sharing more of my homemade holiday projects here and hope that I’m able to add a little cheer to your home.
Sources (Affiliate links below):
My chandelier can be found here.
The tree skirt is a throw blanket, found here.


IT'S ME, SERENA!
I bounced through the first years of my life in a hippie gypsy wagon, hand-built by my father, wandering the back roads of the U.S., Canada and Mexico. My family eventually settled into a tiny cabin in the woods on property that was once inhabited by Native American Indians.
I spent my childhood days searching for arrowheads, teaching myself to sew on a treadle sewing machine and to bake in a wood-burning stove, with no running water, refrigeration, or electricity in our home. My family lived frugally and early on, inspired by my parent’s thriftiness and style, I gained a knack for thrifty creativity and turning ordinary objects into something useful. And I dreamed of the home I would create for my own family someday.
Now I’m married to my husband, Colin, and our children are all grown. After 24 years of producing The Farm Chicks Vintage & Handmade Fair, I'm spending time visiting other markets around the world. You can watch episodes of Serena Goes to Market here.
I share more about my life story from time to time, here on my blog. You can also find me on Instagram, and Facebook.
MORE POSTS LIKE THIS

Natural Holiday Tablescape
Tablescapes add such a nice, warming touch to your home during the holidays. This year I decided to go with simple natural elements (greenery, fruit, and nuts) that are really pretty when gathered together. Best of all, it was really simple and inexpensive to create.I...

Festive Kitchen Christmas Tree
Decorating the kitchen with a small Christmas tree adds an extra bit of holiday cheer to your home. To continue my gingerbread theme this year, I made mini gingerbread houses and tiny stars for the ornaments and strung fresh cranberries as a garland. To finish it all...

How to Make a Fuller Garland
I love the tradition of placing a garland around the front door and I've discovered that I can make it much fuller by adding more elements to the garland once it's hung. I'll show you how! The first step is hanging the garland. I don't want to place any nail holes on...
COPYRIGHT 2026
THE FARM CHICKS
P.O. BOX 9866
SPOKANE, WA 99209


COPYRIGHT 2026
THE FARM CHICKS
P.O. BOX 9866
SPOKANE, WA 99209
This has to be the coolest Christmas tree I’ve ever seen. I love how you used the chandelier for the tree topper! The gingerbread houses with the sugared cranberries are inspiring. Thank you for sharing. I hope you have a healthy and happy Christmas. Looking forward to 2021 Farm Chicks show!!!!
Thanks so much, Therese. Sending the happiest holiday wishes your way. Merry Christmas.
I adore this tree! Your decorations are so charming. Thank you for sharing your cookie recipe and the template links.
May I also ask if your tree is real or artificial? If it’s not real, it’s the best artificial one I’ve seen. Will you share the manufacturer/ type of tree, of you recall?
Thanks for sharing your talents. So fun.
Thanks so much! The tree is artificial, purchased from Balsam Hill. It is their Sanibel Spruce Variety. The trees are really expensive, but they offer sales from time to time. For example, I noticed they were offering 50% off on Black Friday.
Hi Serena! Do you have a printable version of the gingerbread house recipe? My kids & I are planning to attempt them this weekend! Thank you so much for sharing all your wonderful holiday ideas with us!
Hi Katie, I’ve just added a pdf at the bottom of the post. You should be able to print from that. xo