When Colin and I visited Japan this summer, I was so inspired by the darling treats filling the little bakeries and bake stands and wanted to create my own happy little versions when I came home. Cute donut creations have been on my mind for Valentines day so this was the great time to create some of my own Japanese inspired little treats, perfect for sharing on Valentines day. Better yet, the supplies are all readily available, mostly at the supermarket. Today I introduce the Happy Mama Bear who has beary much love to give.

The supplies are really straight-forward:
- Mini Chocolate-Covered Donuts
- Teddy Grahams
- Stiff Royal Icing (tinted soft pink and dark brown)
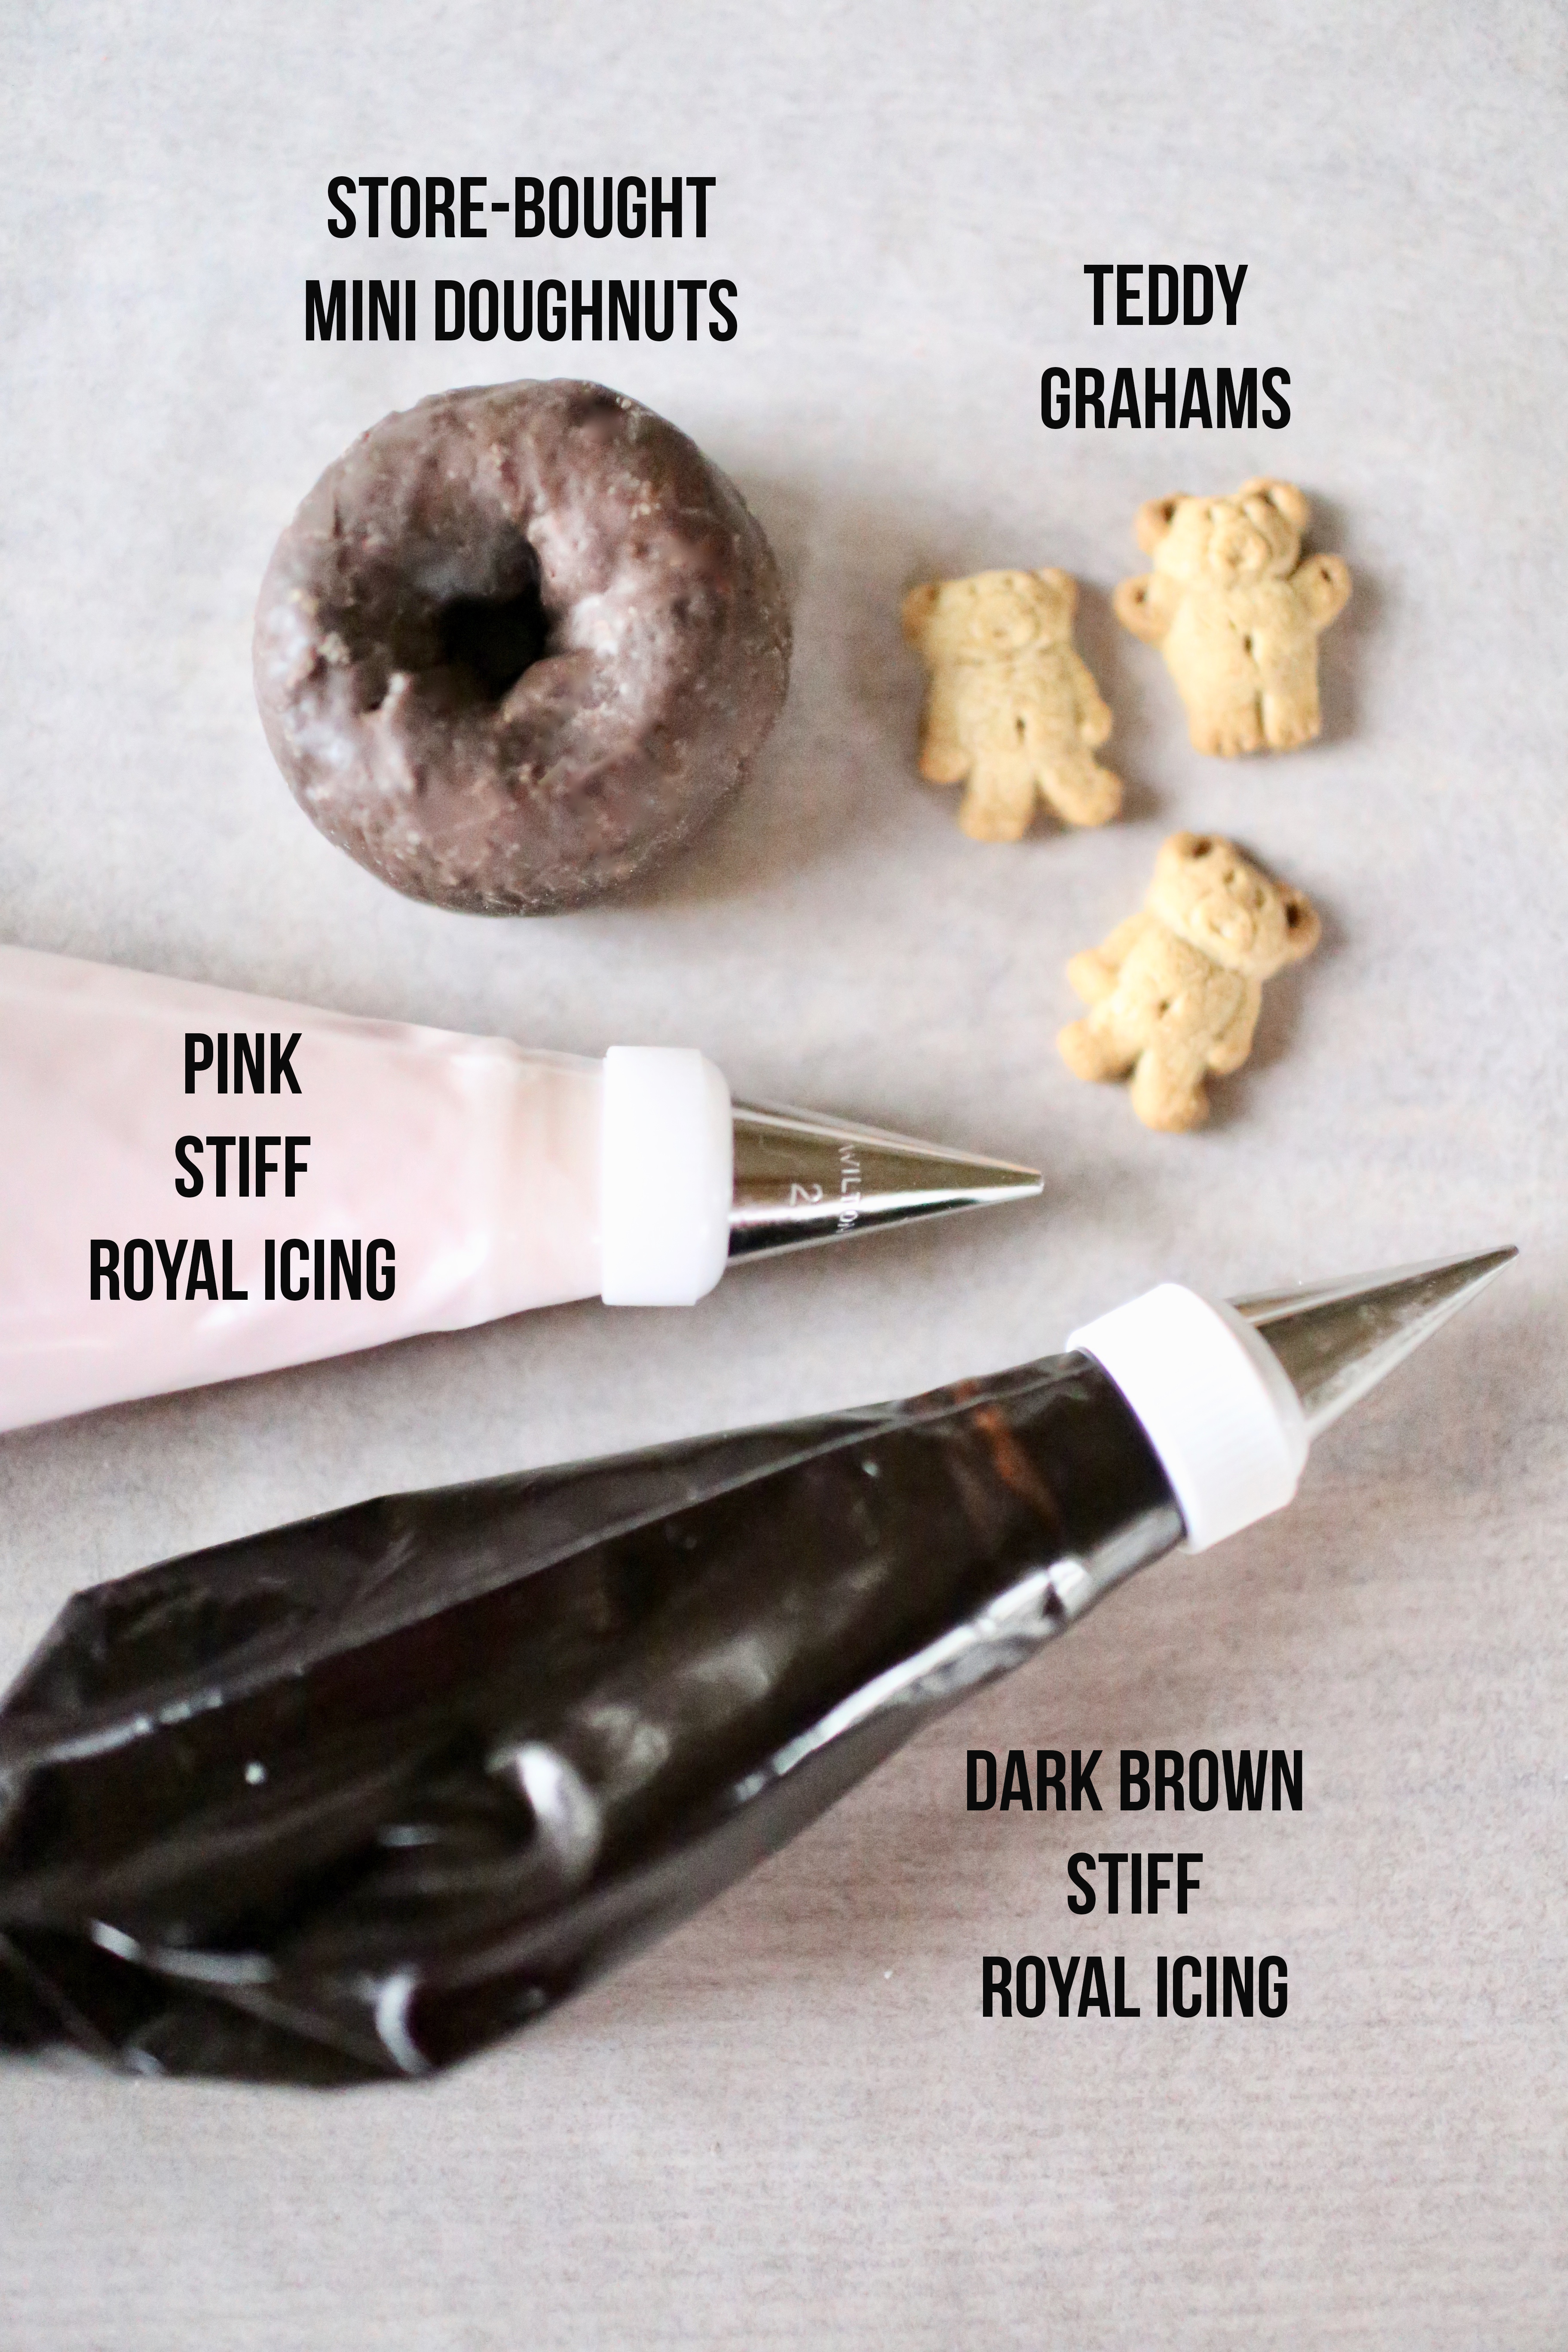
To prepare the donuts, first you’ll need to make the Stiff Royal Icing then tint one half of it soft pink and one half dark brown. Place each color in a piping bag. You’ll need a #2 tip on the soft pink piping bag and both a #2 tip and a #5 tip for the dark brown piping bag.
- Step 1: You’re going to create an assembly line to assemble the donuts. Start by laying out all the donuts you are going to make. Next, one by one, using the dark brown icing with the #5 tip, pipe in a little bit of icing into the center of the donut and then place a teddy graham snuggly into place. (See step 1. in image below). Make sure to go one by one with each donut with the icing and then teddy graham. (Don’t do all the icing first and then place the teddy grahams because the frosting will harden too quickly).
- Step 2: Using the dark brown icing with the #5 tip, pipe on little paws on either side of the teddy graham as seen in step 2. in the image below. If the icing has a pointy tip, dab your fingertip in a tiny bit of water and gently press down on the paw to smooth it out.
- Step 3: Using the same icing and tip, pipe on the ears, using the same water dabbing trick described above if the ears need to be smoothed out.
- Step 4: Using the soft pink icing and the #2 tip, pipe on the eyes, nose, and paw pads as seen in step 4. in the image below. Use the water dabbing trick described above if the piping needs to be smoothed out.
- Step 5: Using the dark brown icing and the #2 tip, pipe on the eyeballs and little nose tip. Use the water dabbing trick described above if the piping needs to be smoothed out.
- Allow to dry before gifting.
- Note: If you don’t do a lot of piping, you might need a little bit practice before beginning. Take your time, hold your hands steady, and you’ll get the hang of it.


For Valentines giving, package individually in clear cellophane bags tied off with a cute ribbon, place on a tray for an after dinner family dessert surprise, or place a few in tiny gift bags and label with love.

Related Questions:
Why use Royal Icing?
Royal icing hardens quickly and won’t smudge once dried, making it ideal for detailed icing and treats that are going to be handled or packaged.
Does Royal Icing need to be made with egg white powder?
No, you can use raw egg whites if you’re comfortable consuming raw eggs. You can find a recipe for Royal Icing using raw egg whites here.
Why does the recipe call for Stiff Royal Icing?
Stiff Royal Icing holds its shape when piped and won’t run, which makes it ideal for piping details that need to stay in place and harden once dried.


IT'S ME, SERENA!
In 2002, I was dreaming of creating a fun and happy little event to sell my vintage and handmade goods. In 2002, I held my first event in my neighbor's barn along with a handful of friends. The sale became wildly popular and began attracting visitors from across the country and recognition in national magazines. Today The Farm Chicks Vintage & Handmade Fair fills the Spokane County Fairgrounds and features hundreds of creatively and carefully curated spaces packed with vintage and handmade goods. Many describe it as a bucket list event, magical, inspirational, and the best event of its kind in the USA. I describe it as the best weekend of the year!
MORE POSTS LIKE THIS
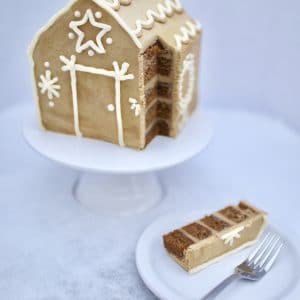
Gingerbread House Cake
What do you get when you mix a gingerbread house with a cake? A gingerbread house cake! I'm not sure you could find a cheerier holiday cake than this, and it's tasty too. Here are the steps involved in making your own! Make the gingerbread cake batter found on the...

Curated Holiday Cookie Box
Last year, I shared inspiration for creating Christmas cookie boxes for gift giving. This year I'm sharing more inspiration for creating these curated little boxes of cookies. Imagine the typical plate of homemade holiday cookies you've probably baked many times, and...
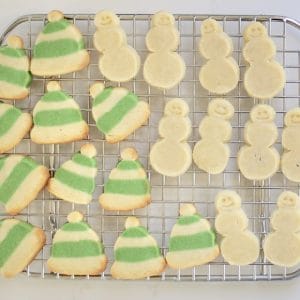
How to Make Hand-Formed Sugar Cookies
One of my favorite things to bake during the holidays is sugar cookies and to use them in my curated cookie boxes. A big part of that process is creating cute new cookie designs that are hand-formed. So, what are hand-formed cookies anyway? Basically, they're cookies...
COPYRIGHT 2024
THE FARM CHICKS
P.O. BOX 9866
SPOKANE, WA 99209

![]()
![]()
![]()
COPYRIGHT 2024
THE FARM CHICKS
P.O. BOX 9866
SPOKANE, WA 99209
![]()
![]()
![]()